How to Uncrate and Replace the Blower Motor on TST-TB Series Units
A Step-by-Step Guide to Replacing a Blower Motor
Maintaining the vital components of your FWE units is crucial for ensuring their optimal performance. At FWEParts, we recognize the importance of keeping your equipment in top condition. This guide, “How to Uncrate and Replace the Blower Motor,” provides detailed, step-by-step instructions to help you through the process. From uncrating the unit to removing the cover, replacing the blower motor, and reassembling the unit, this guide covers all the essential steps. Our goal is to make these tasks straightforward and manageable, so you can get your equipment back to peak performance quickly. For additional support or any questions, our expert team is always available. Contact us at 1-615-805-3270 or [email protected] for dedicated assistance.
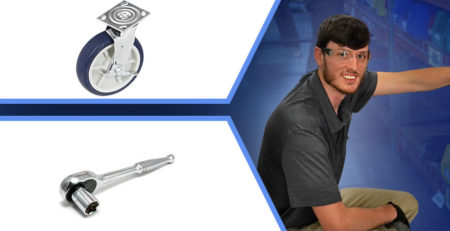
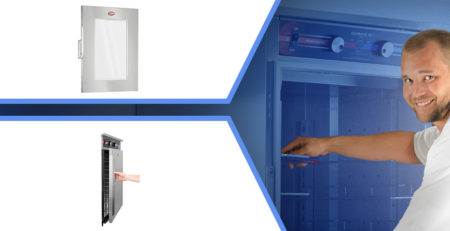
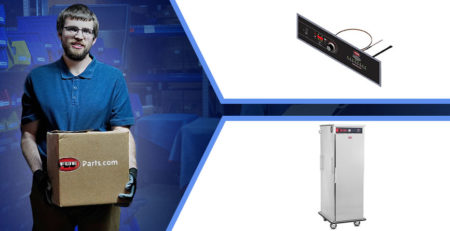
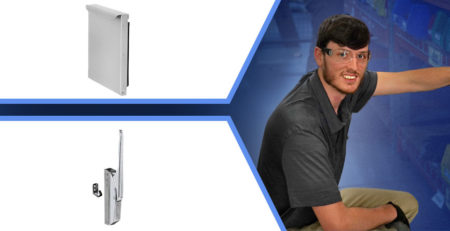
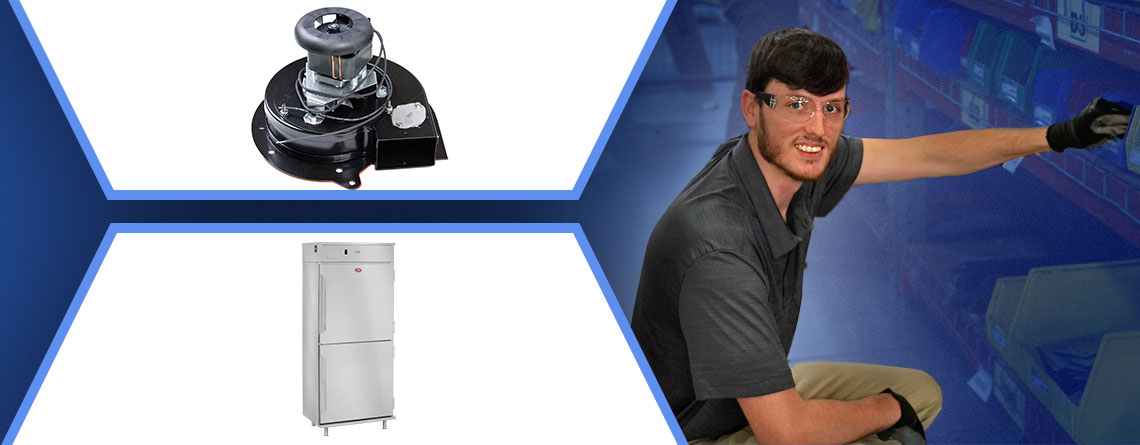
Parts Covered in this Tutorial
Tools Needed
- Driver Drill with #2 Phillips Bit
- #2 Phillips Screwdriver
- 5/16″ Nut Driver
- Wire Cutters/Strippers
Steps
0:00 | Introduction
Uncrating & Removing Cover:
0:17 | Step 1: Cut banding around the cardboard and unit to the pallet
0:28 | Step 2: The top cardboard cover is secured by stables. Remove them by pulling parts. (NOTE: Only remove the cardboard to expose the screws securing the top cover. Keep cardboard and packing materials for later use)
0:43 | Step 3: Remove the styrofoam piece on top and pull back the cardboard pieces to access the screws on the top cover of the unit if necessary.
0:51 | Step 4: Remove the screws around the outside perimeter of the top cover. (The example shown is fully uncrated. Only remove the top piece of cardboard
0:58 | Step 5: Lift and set the cover aside.
Replacing the Blower Motor
1:05 | Wiring Diagram
1:19 | Step 1: Locate the blower motor in the middle of the compartment, along with the two wires that feed the motor incoming power.
1:25 | Step 2: Remove the screws that fasten the motor housing to the unit and set aside.
1:39 | Step 3: Remove the grounding wire from the terminal on the motor.
1:45 | Step 4: Remove the wires from the terminal block, taking note of how they were connected.
1:54 | Step 5: Once all leads and screws have been removed, lift the motor by the housing. You will need to tilt it in a manner that allows it to free from the air channel. Grab by the furthest end, tilt up, then pull out. Set the motor aside.
2:02 | Step 6: Install the new motor back into the air channel and secure it using the screws removed in Step 2.
2:16 | Step 7: Install the correct terminals onto the wires. Reconnect the two blower motor power wires to the terminal block where the old ones were removed. Reconnect the grounding wire to the terminal on the motor.
2:33 | Step 8: Give the motor a little spin by the impeller on its top. The motor should rotate freely and not snag on anything internal, including wires.
2:40 | Terminal Block Wiring Diagram
Re-crating the Unit
2:50 | Step 1: Replace the top cover of the unit with screws removed previously. Replace the styrofoam board on the top of the unit.
3:03 | Step 2: Replace the top piece of cardboard removed previously.
3:10 | Step 3: Replace the banding to secure the cardboard and unit to the pallet.
As we conclude this guide on uncrating and replacing the blower motor in your FWE unit, we hope you found the instructions clear and easy to follow. At FWEParts, our mission is to ensure your equipment runs smoothly, contributing to the efficiency of your food service operations. Should you need further assistance or have any additional questions, our dedicated support team is here to help. Don’t hesitate to reach out to us at 1-615-805-3270 or [email protected] for personalized support. We’re committed to your success and are always just a call or an email away.